In a previous article, we saw how to integrate Harvester in Rancher UI, and from there we were able to request a new K8s cluster with just a few clicks. Now is Virtual Machine time. How fast can we deploy a Linux VM.
Look at https://arielantigua.com/weblog/2023/12/harvester-hci-en-el-homelab/
For installing Harvester.
Linux VM.
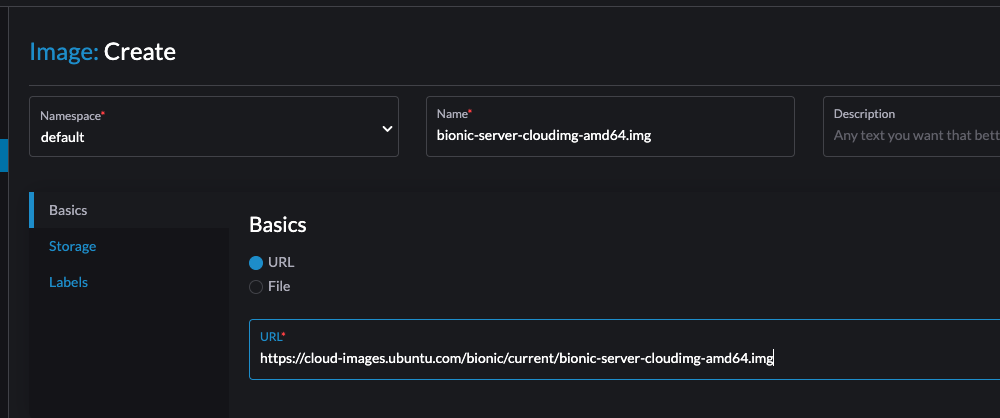
This is easier than expected. You just need an img or qcow2 file imported into Harvester. Navigate to Images and click Create.
For Ubuntu [ https://cloud-images.ubuntu.com/ ]
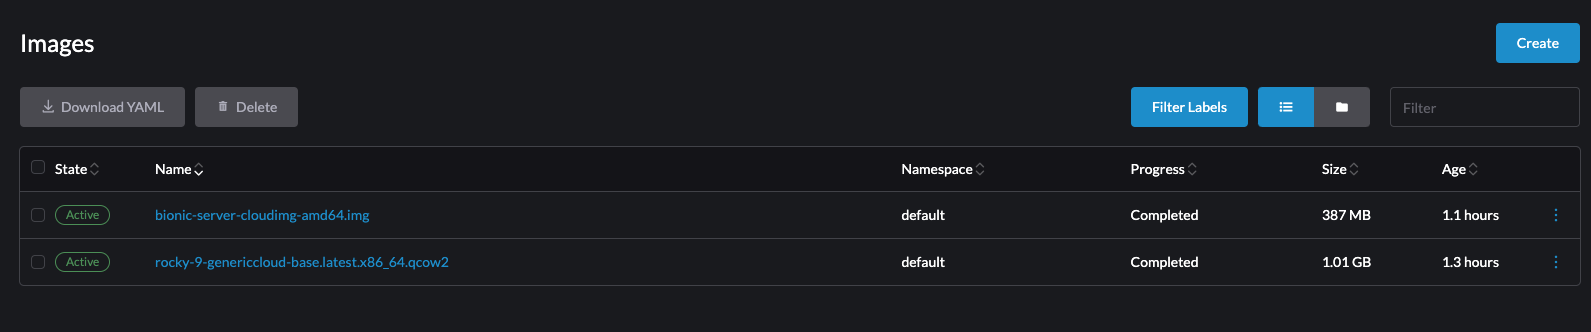
You need to import an image or ISO file, then go to Virtual Machines click Create.
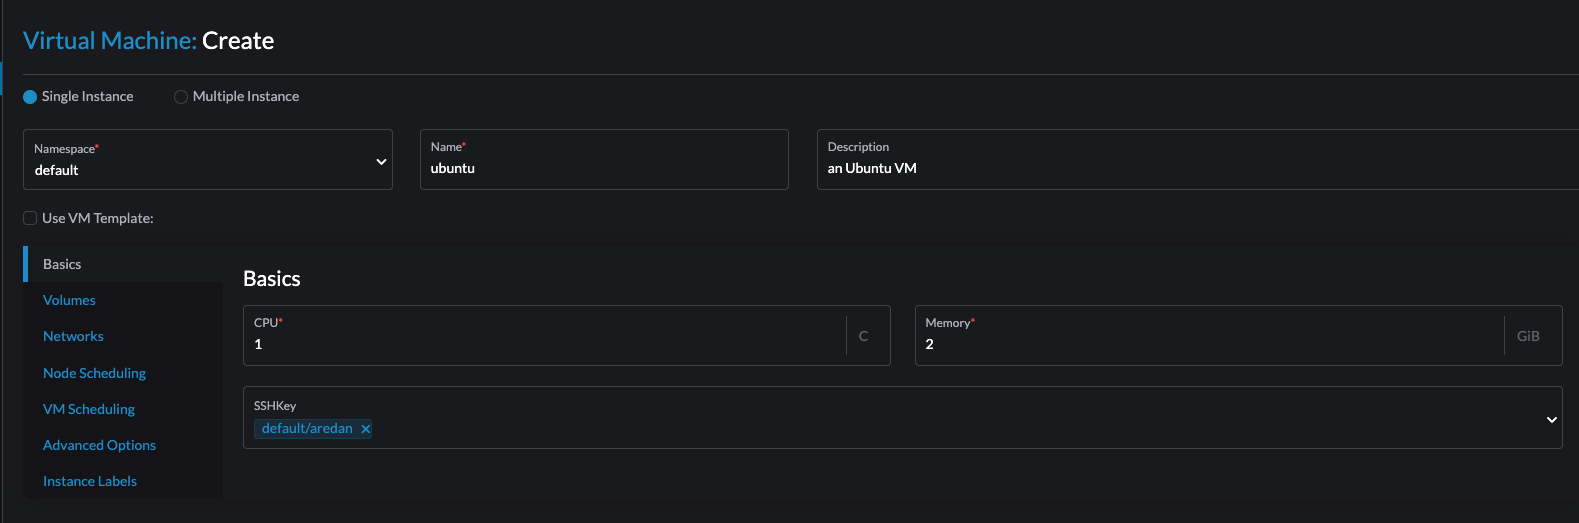
If we analyze this image, almost everything is the same as other Virtual Machine Platforms, one thing that stood out is Namespace. This is a concept from Kubernetes, with this option we can logically separate VM from other projects or owners.
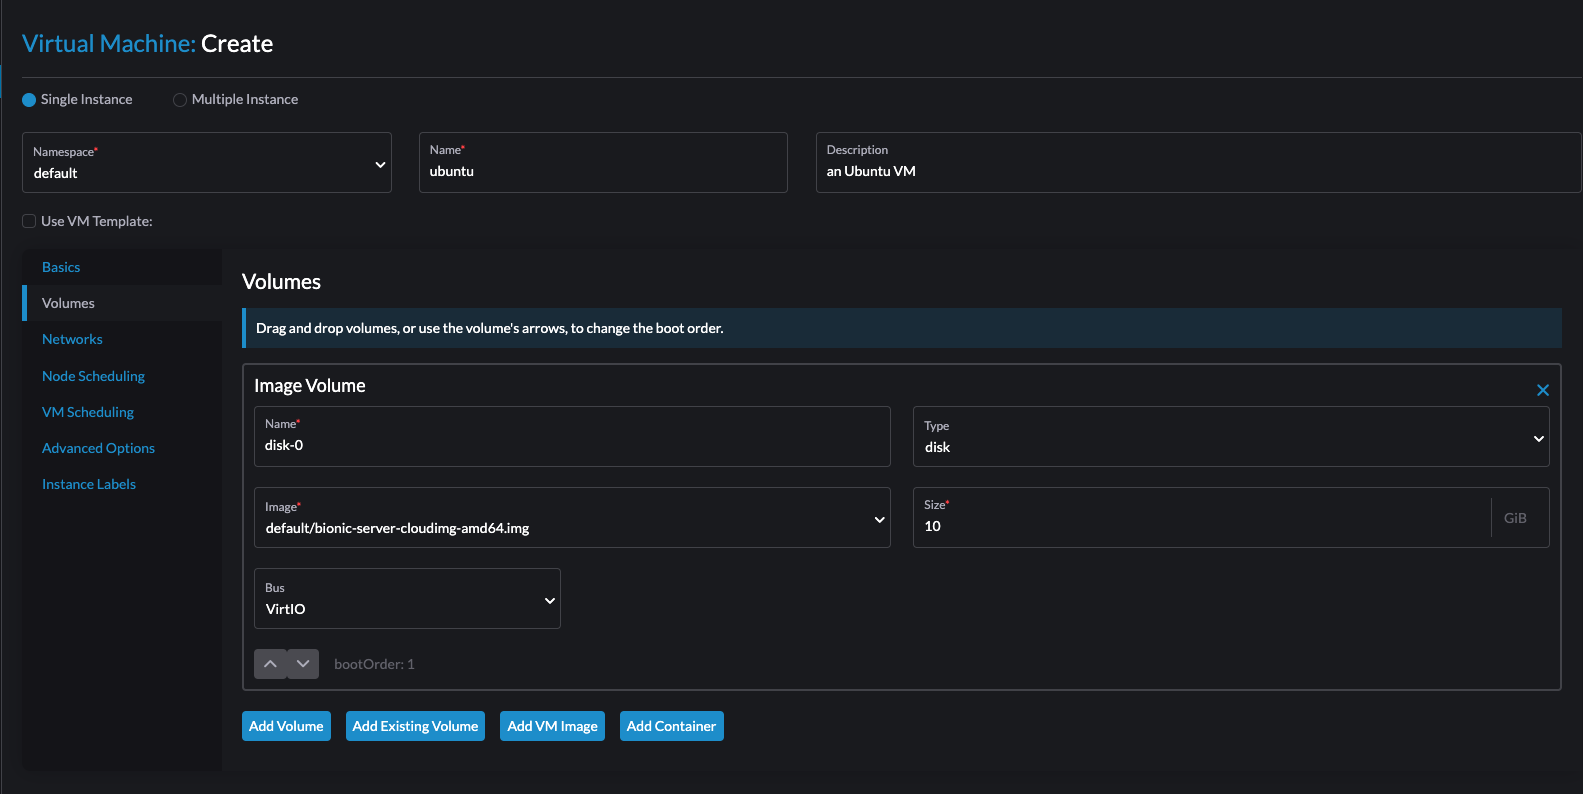
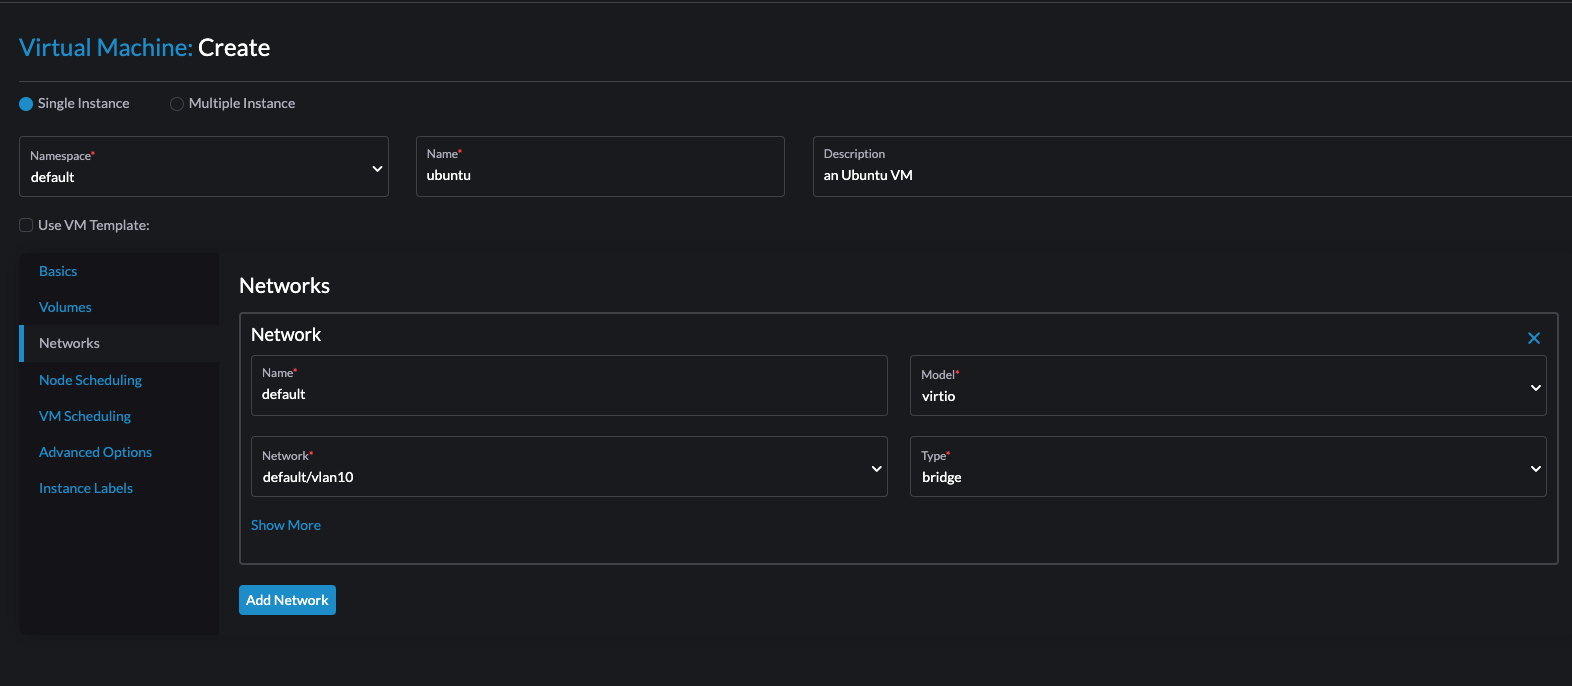
At this point, we can click Create and a new VM will be available. But let’s first click on Advance Options and see what else we can add to this VM.

We can use a Cloud Config to customize our VM, not only we can insert configuration parameters in this area, but we can also create templates that can be reused easily.

This Cloud Config template is for my Rancher VMs for K8s cluster with RKE2 and K3s. it can be used for normal Ubuntu VMs.
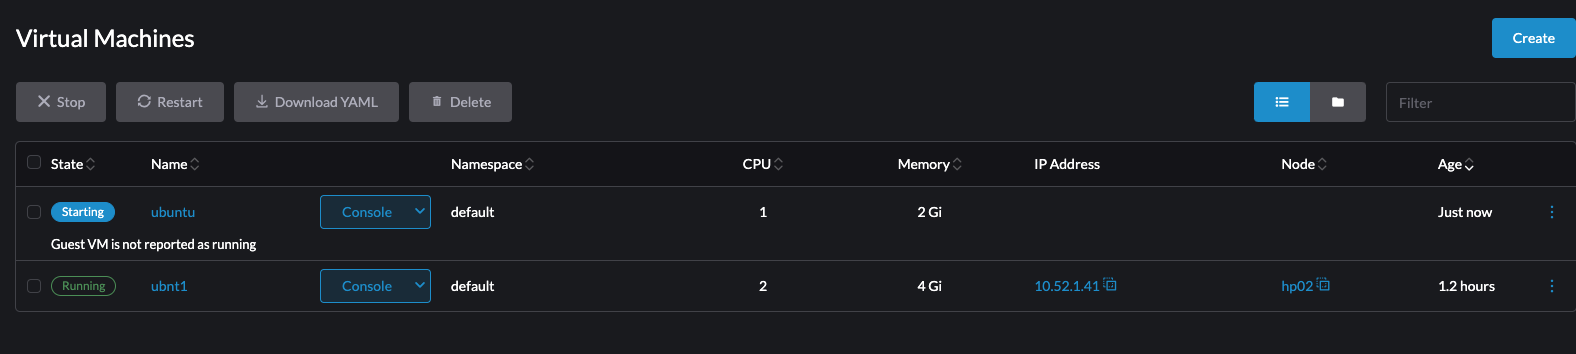
Now is the time to click Create and get our new VM.
Interacting with the Virtual Machine.
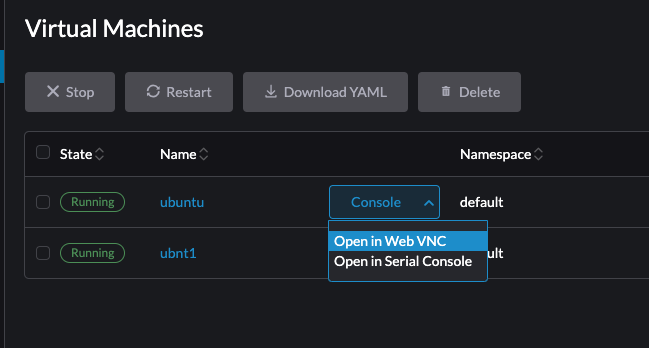
As with other VM platforms, Harvester offers a console interface so we can go into the VM and configure or validate anything configuration-related.
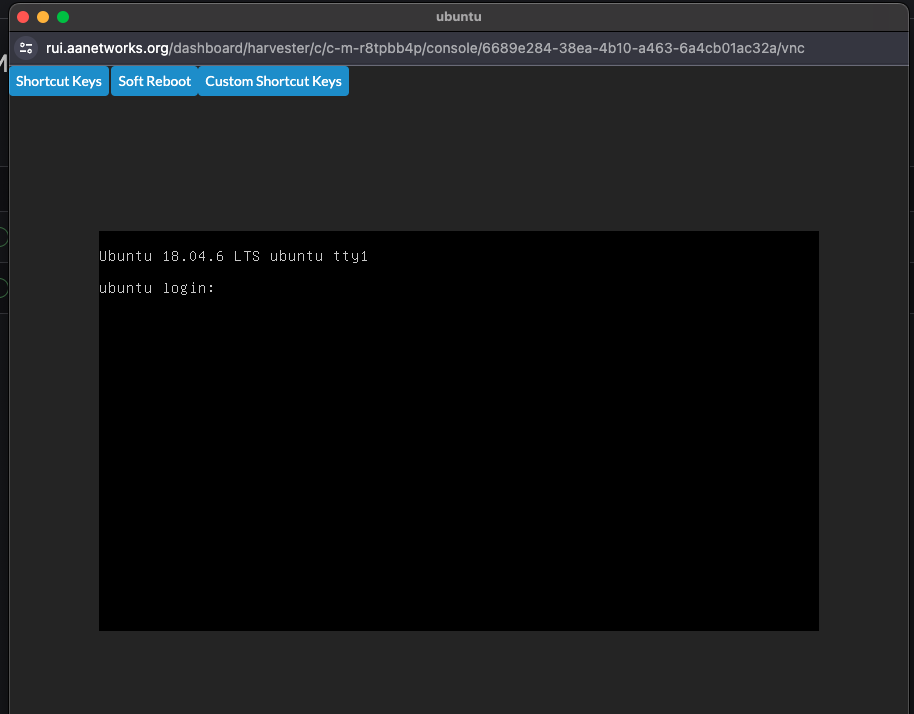
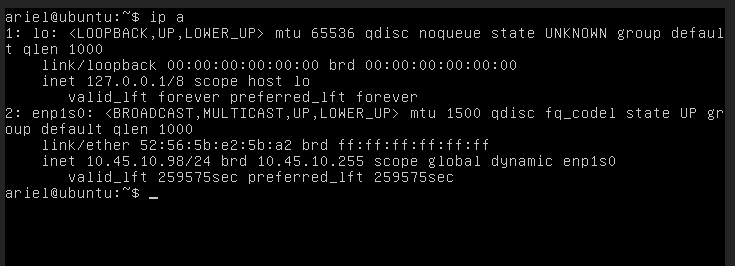
The IP Address assigned is from a DHCP network outside the Harvester environment, this is possible because the network selected is VLAN tagged and in bridge mode to the VM, so the packets are directly injected into VLAN10.
This is just a quick way to get a VM running on Harvester, next, we are going to play with Windows VM and VM creation from ISO images.
☺
Deja una respuesta